How To Remove Buzz From Audio Recordings
Removing buzz from audio recordings can be challenging, as it often involves dealing with unwanted electrical interference or background noise. However, there are several steps you can take to minimize or eliminate buzz from your audio recordings:
1) Identify the Source of the Buzz:
Before taking any action, try to identify the source of the buzz. It could be caused by ground loops, electromagnetic interference, poor connections, or faulty equipment. Identifying the source of the unwanted noise will help you address the problem more effectively.
a) Check Connections: Ensure that all cables, connectors, and audio equipment are correctly connected and secured. Loose connections can introduce buzzing noises.
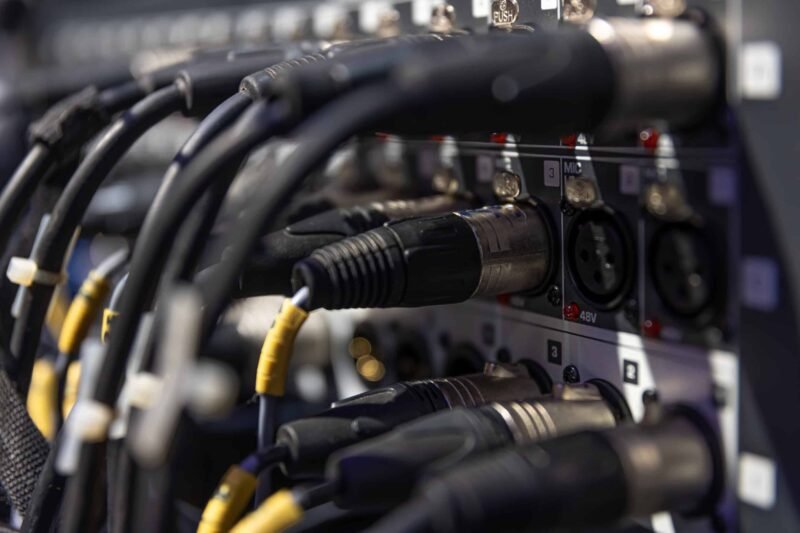
b) Use Balanced Cables: Use balanced cables (XLR or TRS) instead of unbalanced cables (RCA) if possible. Balanced cables have noise-canceling capabilities that can help reduce interference.
c) Isolate Grounds: If you suspect a ground loop is causing the buzz, use ground loop isolators to break the loop and prevent unwanted current flow between devices.
d) Separate Audio and Power Cables: Keep audio cables away from power cables to minimize the risk of electromagnetic interference.
e) Eliminate Potential Sources of Interference: Turn off or move away from potential sources of interference, such as fluorescent lights, routers, and other electronic devices.
f) Use Shielded Cables: Shielded cables are designed to protect against electromagnetic interference. Using high-quality shielded cables can help reduce buzz.
2) Edit in Post-Production:
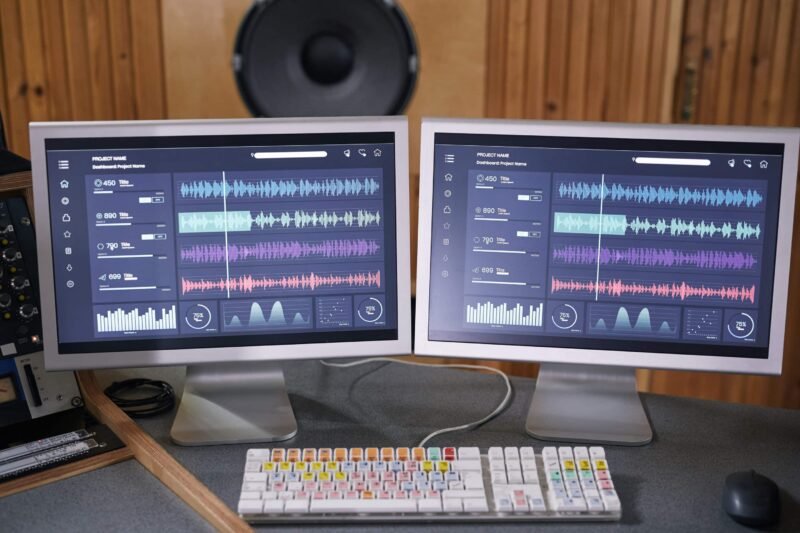
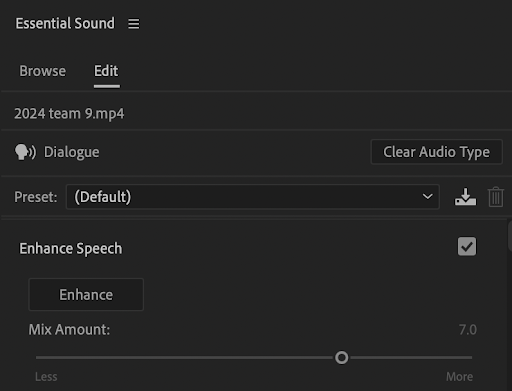
If the buzz is still present in your recordings, you can try to remove it during post-production using audio editing software. Here are some steps you can take:
a) Noise Reduction Tools: Many audio editing programs have noise reduction tools that analyze a sample of the unwanted noise and attempt to remove it from the entire recording.
b) EQ (Equalization): Use an EQ to target and reduce the frequency range where the buzz is most prominent. Be cautious not to affect the desired audio frequencies.
c) High-Pass Filter: Apply a high-pass filter to cut out low-frequency noise, including the buzz. Adjust the filter’s frequency setting to find the sweet spot.
d) Fade In & Out: Use fades at the beginning and end of the audio clips to reduce abrupt transitions that might accentuate the buzz.
e) Volume Automation: Adjust the volume levels of specific inputs with buzz to minimize their audibility.
3) Consult Professionals:
If you’re struggling to remove the buzz on your own, consider seeking help from audio professionals or technicians with experience in diagnosing and solving such issues.
4) Prevention:
To avoid future instances of buzz, focus on prevention. Implement proper cable management, use quality cables and equipment, and create a controlled and interference-free recording environment.
Remember that completely removing buzz can sometimes be difficult, especially if it’s deeply embedded in the recording. Prevention, proper setup, and careful monitoring during recording are crucial to achieving clean audio recordings.
To learn more about capturing great audio, please contact Klover.
Meet the Author, Paul Terpstra
Paul spent the first 30+ years of his career with nearly every aspect of automated industrial equipment. After spending nearly 20 years working for a builder of custom assembly automation equipment, he formed an engineering consulting firm specializing in industrial equipment. The focus of that company expanded to forensic engineering and ultimately to serving as an equipment expert supporting legal cases.
In 2011, he was asked to design a parabolic microphone. That design ultimately led to his co-founding Klover Products, Inc. Since that time he has been an avid student of audio (which he had played with previously) and the problems facing the broadcast / production industry.


As summer winds down, the familiar rhythm of a new school year approaches. For educators like James Peach, the weeks leading up to students' return aren't just about shuffling papers; they're a strategic dance of preparation, aiming to ignite inspiration and cultivate self-sufficiency.